

Git for Beginners: Basics and Essential Commands
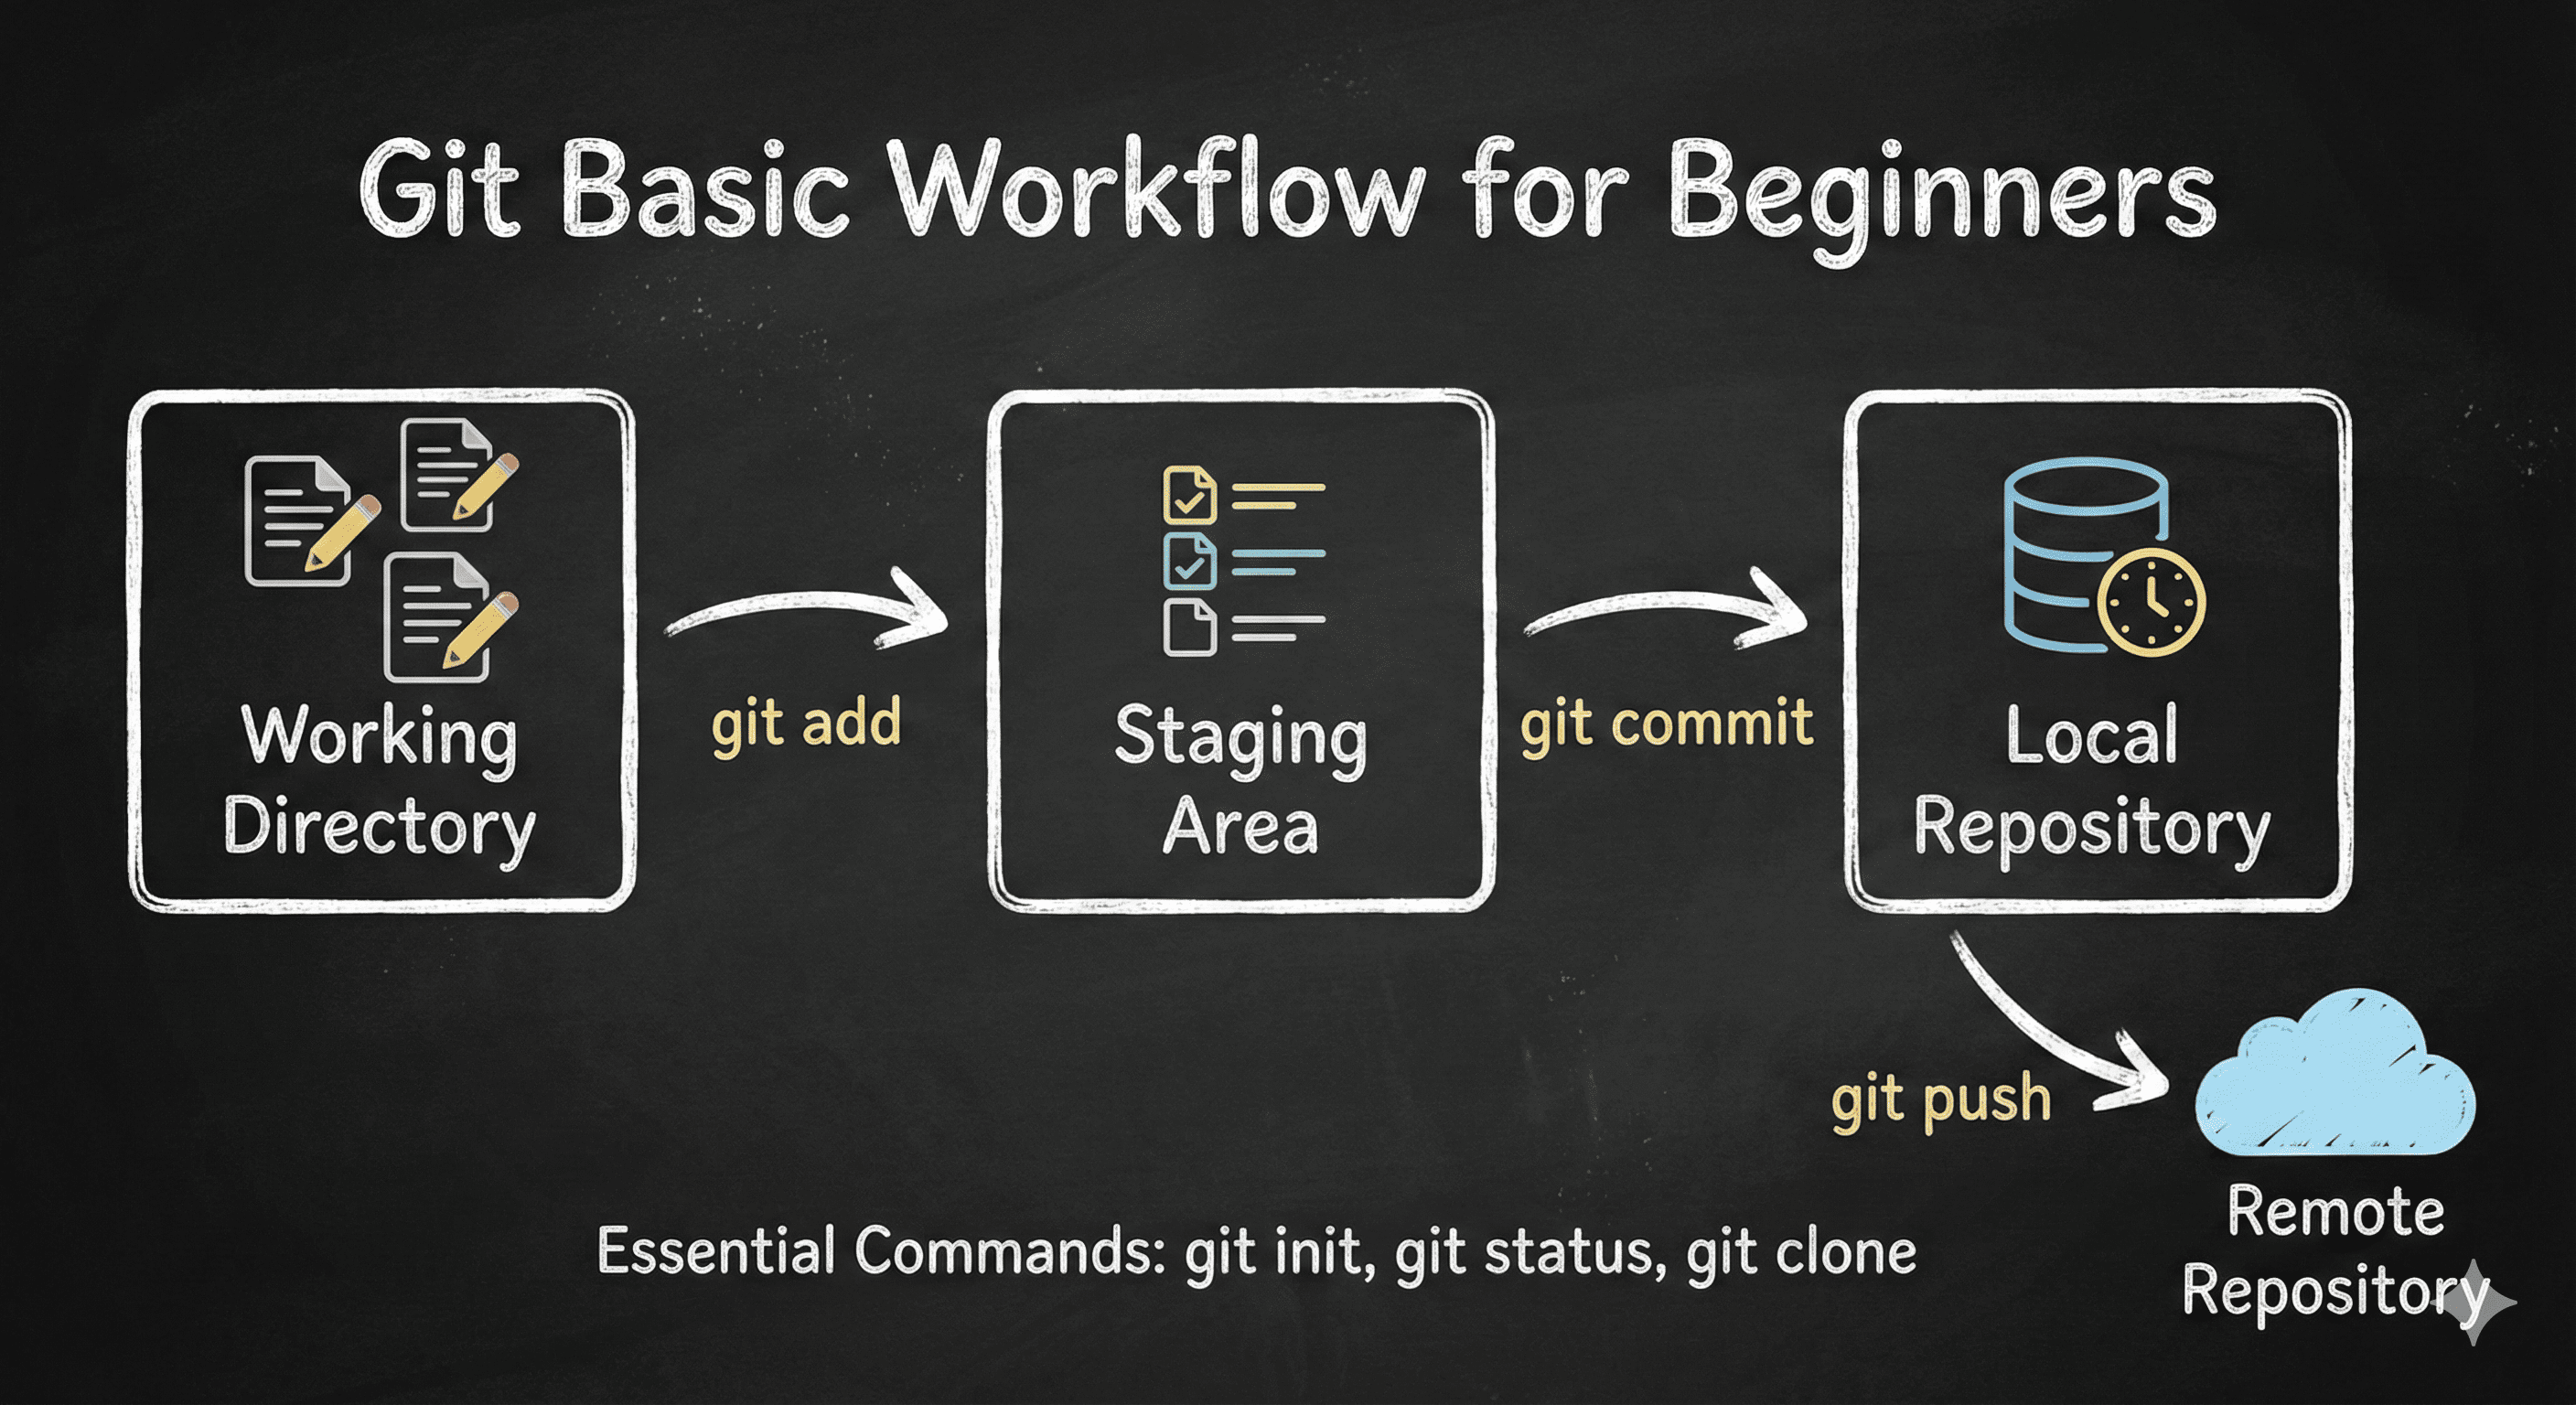
Have you ever spent hours writing code, only to realize you made a mistake and can't find your way back to the version that actually worked? We’ve all been there—the "Final_v1," "Final_v2_REAL," "Final_v3_USE_THIS" folder nightmare.
This is where Git comes in. Think of Git as a "Save Game" button for your code. It allows you to track every change, collaborate with others, and travel back in time to any previous version of your project.
Getting Started: Two Ways to Begin
Before you can use Git commands, you need a "Repository" (or "repo"). There are two common ways to get one:
Case 1: Starting from Scratch (Local First)
Use this if you are starting a brand-new project on your computer.
Case 1: Starting from Scratch (Local First)
Use this when you’re starting a brand-new project on your computer.
 mkdir my-new-project
 cd my-new-project
Initialize Git:
git initThis creates a hidden
.gitfolder.( That folder is the brain of your project — it stores the entire history of your code.)This creates a hidden
.gitfolder. This folder is the "brain" of your project—it's where Git stores all your history.
Case 2: Joining an Existing Project (Remote First)
Use this when the project already exists on GitHub and you want it on your machine.
Clone the repository:
git clone <repository-url>
Move into the project folder:
cd <project-name>
The Core Workflow: The “Common Path”
Once your repository is set up, the workflow is the same no matter how you started.
This is the mental model you need to understand Git.
The Core Workflow: The "Common Path"
Once your repository is set up, the workflow is the same regardless of how you started. Here is the mental model you need to understand:
1. Check the Status
The most important command you will ever run is:
Bash
git status
Why? It tells you exactly what Git is seeing. It shows which files are modified, which are new (untracked), and which are ready to be saved.
2. Stage Your Changes
Before saving, you tell Git what you want to include.
Add a specific file:
git add index.html
Add everything:
git add .
Think of this like putting items into a box before taping it shut.
3. Commit (The Permanent Save)
Now, you create a snapshot of those staged changes.
Bash
git commit -m "Add navigation bar to header"
💡 Tip:
Write clear commit messages. Six months from now, future-you will thank present-you.
4. View Your History
To see the timeline of your project:
Bash
git log
This shows a list of every commit ever made.
💡 Pro-Tip: If the log is long, it might take over your terminal. To get back to your prompt, simply press
qto quit.
The Git Workflow: Visual Mental Model
┌─────────────────────┐
│  Working Directory  │
│ (You edit files)    │
└─────────┬───────────┘
          │
          │ git add
          ▼
┌─────────────────────┐
│   Staging Area      │
│ (Changes selected   │
│  for commit)        │
└─────────┬───────────┘
          │
          │ git commit
          ▼
┌─────────────────────┐
│  Local Repository   │
│ (Saved snapshots    │
│  on your computer)  │
└─────────┬───────────┘
          │
          │ git push origin <branch>
          ▼
┌─────────────────────┐
│  Remote Repository  │
│ (GitHub / GitLab)   │
│ (Backup + sharing)  │
└─────────────────────┘
How to Read This Diagram
Working Directory
Where you write and edit codeStaging Area
A “pre-commit” area where you choose what goes into the snapshotLocal Repository
Your full project history, stored on your machineRemote Repository (GitHub)
Your backup and collaboration hub
5. Push Your Changes (Send Them to GitHub)
So far, everything you’ve done exists only on your computer.
To back it up or share it, you need to push your commits to the remote repository.
git push origin <your_branch_name>
Examples
Push the main branch:
git push origin main
Push a feature branch:
git push origin feature-navbar
💡 First-time push tip:
If the branch doesn’t exist on GitHub yet, Git will create it automatically.
Branching: Experimenting Safely
Branches let you work on new features without breaking the main version of your code.
Show all branches:
git branch
Create a new branch and switch to it:
git checkout -b <branch-name>
Switch to an existing branch:
git checkout <branch-name>
Branches give you freedom to experiment without fear.
5.1 Fixing the “origin does not appear to be a git repository” Error
If you see this error while pushing:
fatal: 'origin' does not appear to be a git repository
fatal: could not read from remote repository
This means your local Git project is not connected to a remote repository yet.
else you can skip this step
5.1.1 Create a Repository on GitHub
Go to GitHub
Click New Repository
Enter a repository name
Do NOT select:
Add a README
Add .gitignore
Choose a license
Click Create Repository
5.1.2 Connect Your Local Repo to GitHub
Run this inside your project folder:
git remote add origin <repository-url>
Example:
git remote add origin https://github.com/your-username/my-new-project.git
Verify:
git remote -v
5.1.3 Push Again
git push -u origin main
The Everyday Git Workflow
90% of your Git usage will be this:
git status
git add .
git commit -m "Describe what you changed"
git push origin <your_branch_name>
Master this flow, and Git becomes simple, predictable, and powerful.
Conclusion
Git might feel like a lot of commands at first, but it’s really just a time machine for your code, 90% of your work will just be:
Once you understand:
- status → add → commit → push
you’ll never lose your work again — and you’ll never need a Final_v7_REALLY_THIS_ONE folder ever again.
Happy coding! 🚀
